It's Mardi Gras time! The girls made their own fancy masks today... we'll add a few beads & we're all set to celebrate!
Supplies- White or Colored Construction Paper, Craft Sticks, Paint, Paint Brushes, Glue, Scissors, Sequence/Stickers/Feathers/Glitter/Etc. (For decorating)
1. Cut out a large oblong oval shape using the white construction paper. (If you don't have paint, you may choose to use colored construction paper to add some color.)
2. Hold the oval up to your little one's eyes & make a small mark to mark where their eye holes should go.
 3. Cut out small eye holes, as shown below. |
4. Glue a craft stick to the back side of each mask as shown below. (You may choose to reinforce with a piece of scotch tape until the glue is dry.)
5. Choose a desired paint color & begin painting the front side of the mask. (We used glitter paint to make it a little more flashy!)
6. Once the paint has dried a bit, go ahead & start jazzing up the mask with all the extras you've gathered. Fasten them with glue.
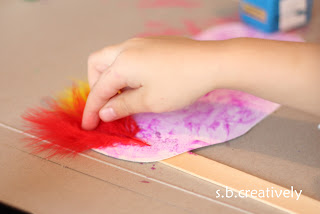
Here we glued a few colorful feathers to the upper left corner of the mask.
And a few sequence...
A few more down the mask's handle....
And then we finished with some glue around the eye holes sprinkled with glitter. (Shake off the excess of the garbage can.)
7. Allow a few hours to dry completely & you've got a Mardi Gras Mask!
So silly & definitely fun to play with.
The next picture is two days after we made our masks above... we went to Mardi Gras at our church & M1 created this mask. Much like the ones we had made but the actual mask was cut in a different (much cuter!) shape. Great idea to use a straw in place of the craft stick as well. You've got to have one of those things in your drawers!
Enjoy! s.b.


No comments:
Post a Comment